Testing Relay Terminal Blocks: A Comprehensive Guide

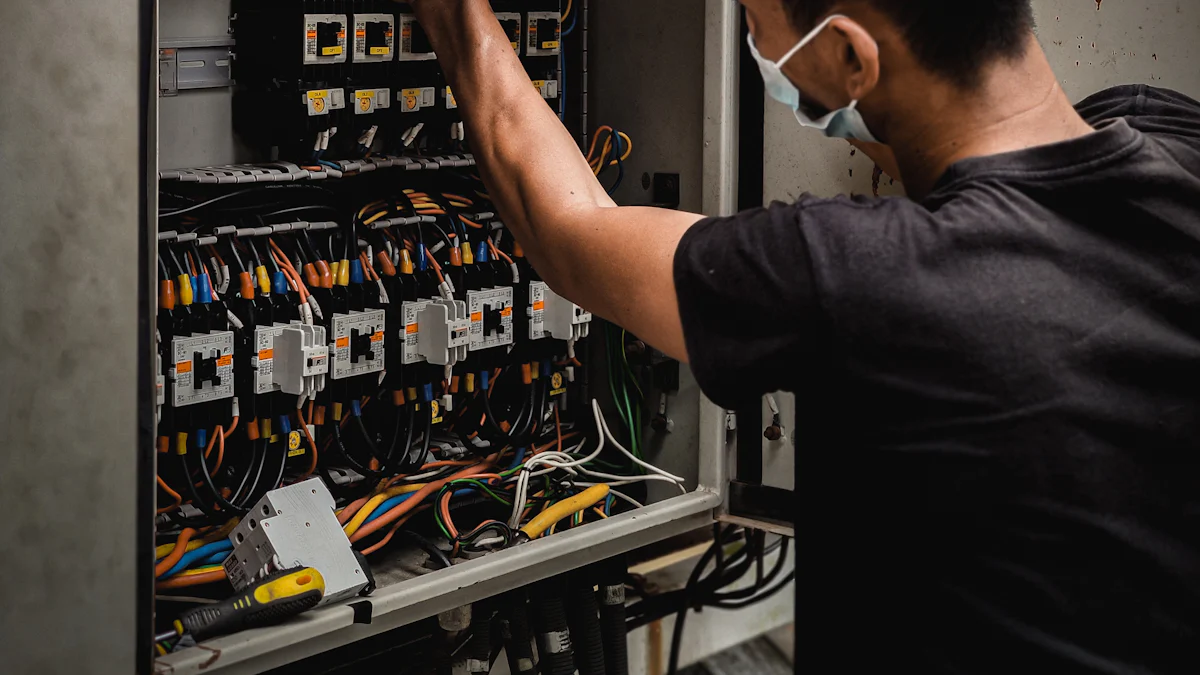
Image Source: pexels
The Importance of Testing Relay Terminal Blocks
Relay terminal blocks serve as crucial connections between control devices and loads, ensuring smooth switching and safeguarding against circuit risks. Without regular testing, these blocks may develop issues, posing a threat to equipment and safety. It's vital to include testing in your maintenance routine and during product selection.
This in-depth guide offers a systematic approach to relay testing. By adhering to these step-by-step instructions, you can promptly detect any potential issues and implement necessary measures to address them, ensuring the reliability and safety of your systems.
Common Issues with Relay Terminal Blocks
Relay terminal blocks, like any other electrical components, can experience various issues that can affect their performance. It is important to be aware of these common issues and know how to identify and troubleshoot them effectively.
| Common Question | Causing Problem | How To Test |
| Loose Connections | ◆Loose connections can lead to intermittent or complete failure. ◇They result in erratic behavior or even power outages. | ◆Visually inspect the junction box for physical damage or corrosion. ◇Check for tight connections free of debris. ◆Measure resistance at the connection using a multimeter to identify loose connections. (Significant deviation in resistance from the expected value indicates a loose connection.) |
| Contact Welding | ◆Contact welding causes relay contacts to stick together due to excessive current or arcing. ◇This affects the proper opening and closing of contacts, impacting the relay terminal block's functionality. | ◆Visually inspect relay contacts for signs of welding or damage. ◇Look for signs of melted metal or discoloration on the contacts. ◆Use a continuity tester to check for continuity when contacts should open; the presence of continuity when it shouldn't indicate contact welding. |
| Coil Failure | The coil is responsible for activating and deactivating the switching mechanism. Coil failure can lead to improper functioning of the relay terminal block. | Use a multimeter to measure coil resistance and compare the measured resistance with the specified value. If a significant difference between the measured resistance and the specified value suggests a faulty coil that needs replacement. |
By being aware of these common issues and knowing how to test for them, you can effectively troubleshoot relay terminal blocks and ensure their proper functioning.
Step-by-Step Guide to Testing Relay Terminal Blocks
Relay terminal blocks can be effectively tested by following a step-by-step approach.
Step 1: Visual Inspection
Begin by inspecting the relay terminal block for any physical damage, loose connections, or signs of contact welding. Check for any visible signs of corrosion, such as rust or discoloration. Ensure that all connections are secure and free from debris. Look for any visible signs of coil damage or overheating, such as melted insulation or burnt marks, to ensure complete protection.
Step 2: Resistance Testing
To test the relay contacts, use a multimeter to measure the resistance across them. Compare the measured resistance with the specified value provided by the manufacturer. If the measured resistance is significantly higher or lower than expected, it may indicate a problem with the contacts. Further investigation may be required to determine the cause of this deviation and take appropriate action.
Step 3: Continuity Testing
Continuity testing helps ensure that the relay contacts are making proper electrical connections when activated and breaking those connections when deactivated. Use a continuity tester to check for continuity in both states. When activated, there should be continuity between appropriate contact points, indicating a closed circuit. When deactivated, there should be no continuity between contact points, indicating an open circuit. If there is continuity in both states or no continuity in either state, it suggests a fault in the relay contacts.
Step 4: Coil Resistance Testing
The coil in a relay is responsible for activating and deactivating the switch mechanism. Measure the resistance of the relay coil using a multimeter and compare it with the specified value provided by the manufacturer. Significant differences in resistance values may indicate a faulty coil. In such cases, further investigation or replacement of the coil may be necessary.
By following this step-by-step guide, you can effectively test relay terminal blocks and identify any potential issues that may affect their performance. Remember to refer to the manufacturer's specifications for specific testing procedures and adhere to best practices for accurate and reliable results.
Best Practices for Testing Relay Terminal Blocks
1. Refer to Manufacturer's Specifications
Always consult the manufacturer's specifications for the specific relay terminal block being tested, and then you can avoid any potential errors or issues arising from improper testing techniques.
2. Use Proper Testing Equipment
Ensure that you have the necessary tools, such as a multimeter and continuity tester, to perform the required tests. It is important to use high-quality equipment that is properly calibrated to ensure precise readings. Faulty or inaccurate testing equipment can lead to incorrect results. By using reliable and well-maintained equipment, you can trust the accuracy of your test results.
3. Document and Record Test Results
Keeping a record of all test results is crucial for future reference and comparison. Documenting resistance values, continuity readings, and any other relevant data allows for easy tracking of test outcomes over time. This documentation can be useful when troubleshooting recurring issues or identifying patterns in performance. Additionally, it provides a historical record that can be referenced if further analysis or comparison is needed in the future.
By following these best practices, you can ensure accurate and effective testing of relay terminal blocks.
Conclusion
In conclusion, testing relay terminal blocks is essential to ensure their proper functioning, reliability, and excellent quality. By following a step-by-step approach and adhering to best practices, you can effectively identify common issues such as loose connections, contact welding, and coil failure through testing. Regular testing of relay terminal blocks allows for early detection of potential problems and enables prompt troubleshooting and maintenance.
If you have any questions or requirements, please free to contact SHINING, and we will reply as soon as possible.


